It’s time for the annual book fair pumpkin decorating contest at Lily’s school!
We are all about crafts in my house! We may not get to do them often but when we do, we do it big!
This is Lily’s first year to compete and the theme her school chose is “Pirates.” The rules were as follows:
*This is a family contest so everyone may join in the fun!
*The display needs to be no larger than 24×24.
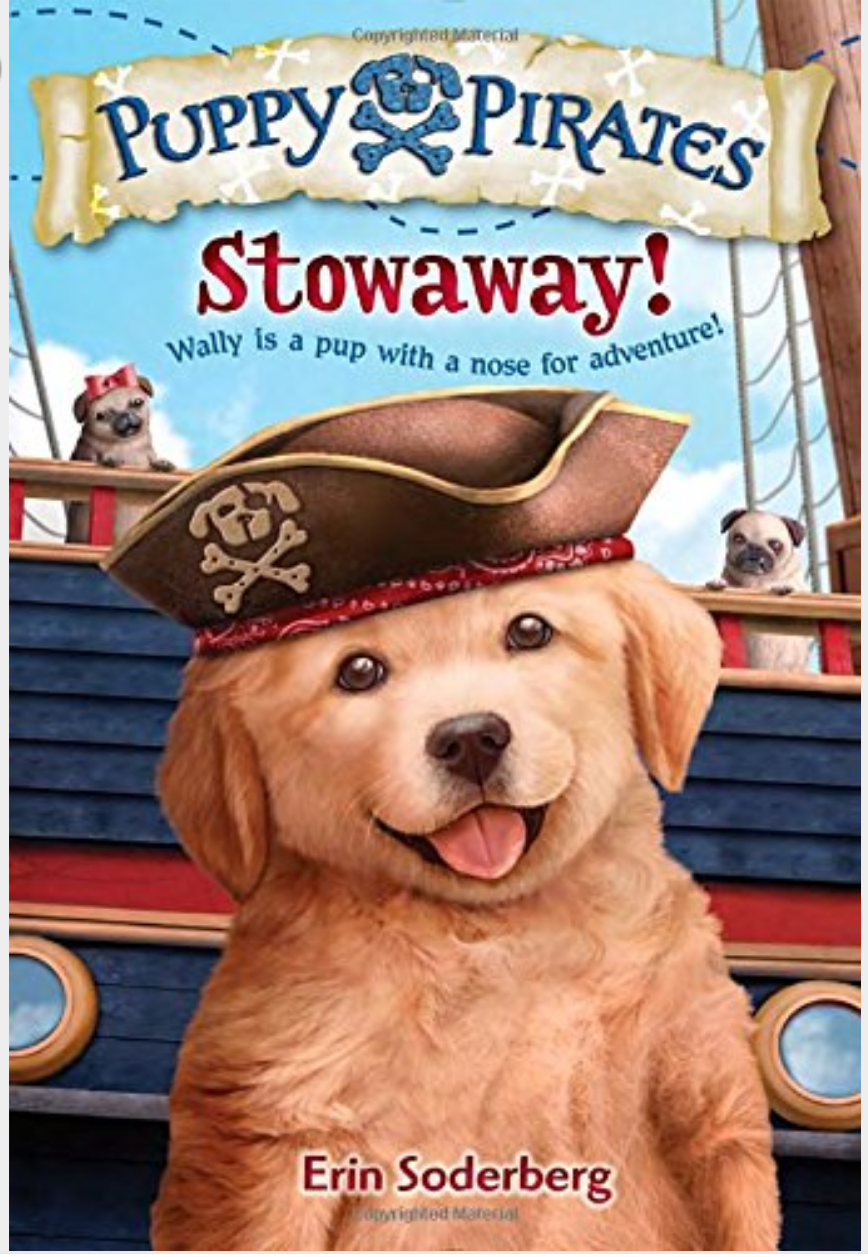
We can get that covered, no problem 😉. The hardest part in this project was going to be finding a book about dogs and pirates! Lily is obsessed with puppies so unless this pirate was a dog she was not going to be enthused about making it. After much looking around for a book we found a cute little series called Puppy Pirates. PERFECT!
The name of the book is called Stowaway! By Erin Soderberg.
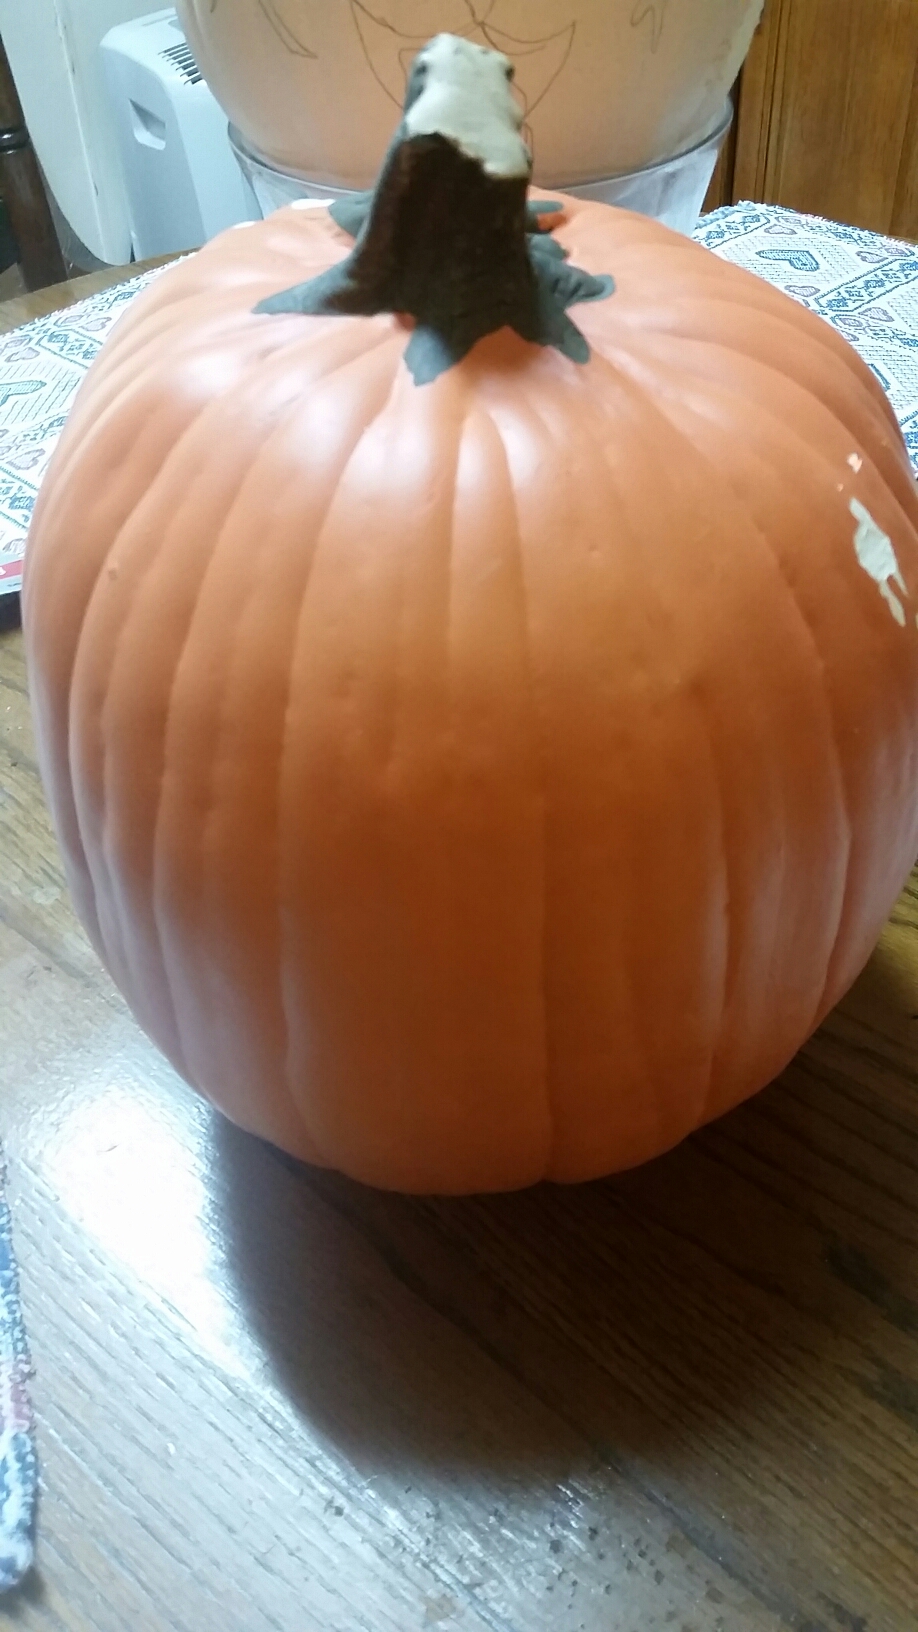
First, we went to Hobby Lobby and purchased 2 CARVABLE pumpkins. One was a large orange one and the other is a cream mid-sized one for his head. You will also need 2 mini pumpkins for his paws. I would also recommend buying a can of matte cream spray paint and also a small bottle of burnt umber paint for the eyes and shadowing. Buy a package of moldable clay that dries without having to be baked. A package of large wooden skewers, red bandana and lastly a pirates hat.
Tools: Dremel, safety glasses and dust mask.
First:
Take your cream pumpkin and draw a dog face on it. There are many to choose from on Google images if you simply search for “Dog face on a Pumkin.” We chose a Golden Retreiver.

Next:
I would highly recommend going outside for this portion of your craft. Take your pumpkin and set it on a bucket or table(anything that you will be comfortable working at for a few hours). Put your glasses and mask on and fire your Dremel up! Start carving out around the ears and building up your ear from your pumpkin. Take it around the back of your dog’s head and try to shape it into the shape of a dog. Be very careful not to let your Dremel go to deep as most pumpkins are hollow and you will puncture thru making a large hole. Once you have a nice head shape, go back to the face and carve in the nose, lips and tounge area. I finished the ears last. * I did NOT mess with the eyes, I left them alone so I could paint them later.
Now, take a pencil and draw you two front legs going down the front of the orange pumpkin. I then took my Dremel and started carving the stem of the orange pumpkin to make it into a cylinder shape. I made all the edges smooth and flat. I positioned the cream pumpkin over my orange one to determine where it’s head out be placed on its body. Once I had it where I wanted it I took the Dremel and made a hole in the bottom of the cream pumpkin that would allow the orange stem to fit into. If you got this far you are doing GREAT!
Now, slowly start shaping your pumpkin into a dog’s body. You want to make sure that the chest area is a little more pronounced than where it’s belly would be closer to his paws. That is going to be the most recessed area.

Is it looking like a dog for you yet?
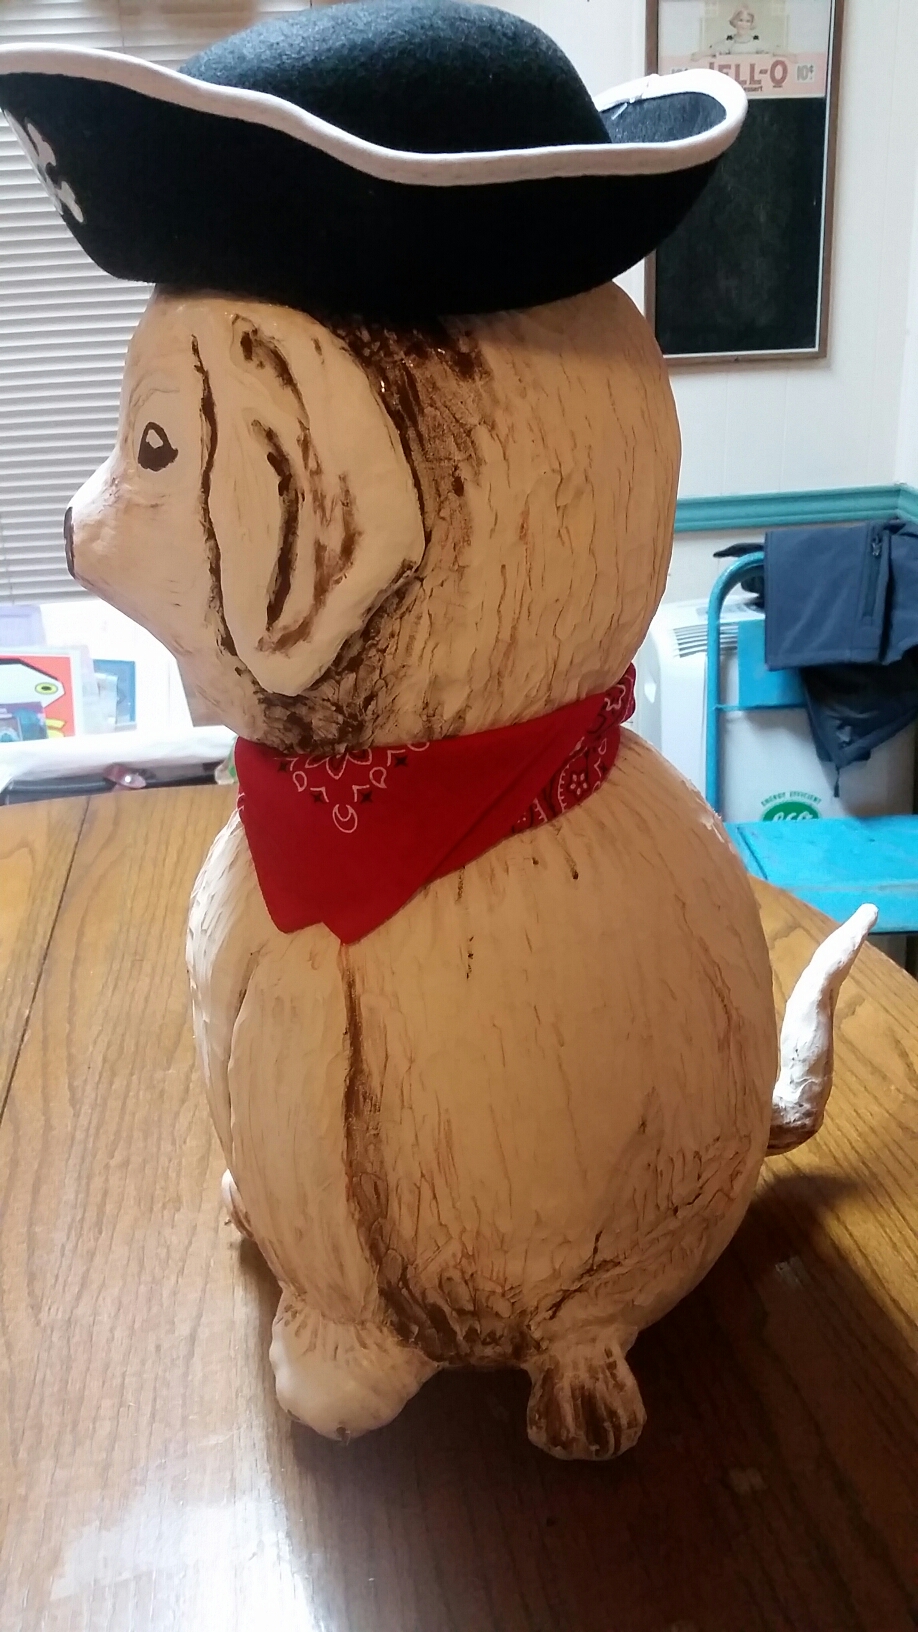
Once you have your dog all carved out take your two mini pumpkins and cut them in half. These will be your paws. Position one half of them in front of each leg. Now use one of your skewers and push it thru each paw in three separate points to secure it. You can let them stick out a little as it makes great toenails for your pup once they are painted! I also stuck 4 skewers in thru the top of my head to connect it to the body. These make perfect connections and you don’t have to use glue! Dont worry if any stick out because you will use your red bandana to cover it up.
Next, take your clay and make sure your hands are damp. Knead it and start building your dog nose on top of the face. Make sure your nose is more square shaped than round or it will look like a human nose instead. Build around his mouth and above his eyes. Leave the portion of the eyes alone so that you frame your face with clay and the eye area remains semi sunken in. Build up your ears as well to give them dimension. Now, take some clay and mold it around the edges of your front feet so that it connects the feet to the pumpkin without and space between, it will become a filler more or less. Once that is complete, take the remaining pumpkin halves and half one. Place the half where the back paws should be and again stick it in with the skewer. Use some clay and form the rest of the paw and connect the paw to the pumpkin. With your remaining clay mold a tail and stick it to the back of your pumpkin. You are now ready to paint!!!!
Bring your masterpiece out in the yard and spray it evenly with your spray paint choice of color. Once coated evenly, it should dry in around 10 minutes. The clay that is painted still might be a little wet so let it sit in the sun and dry longer if you need to.
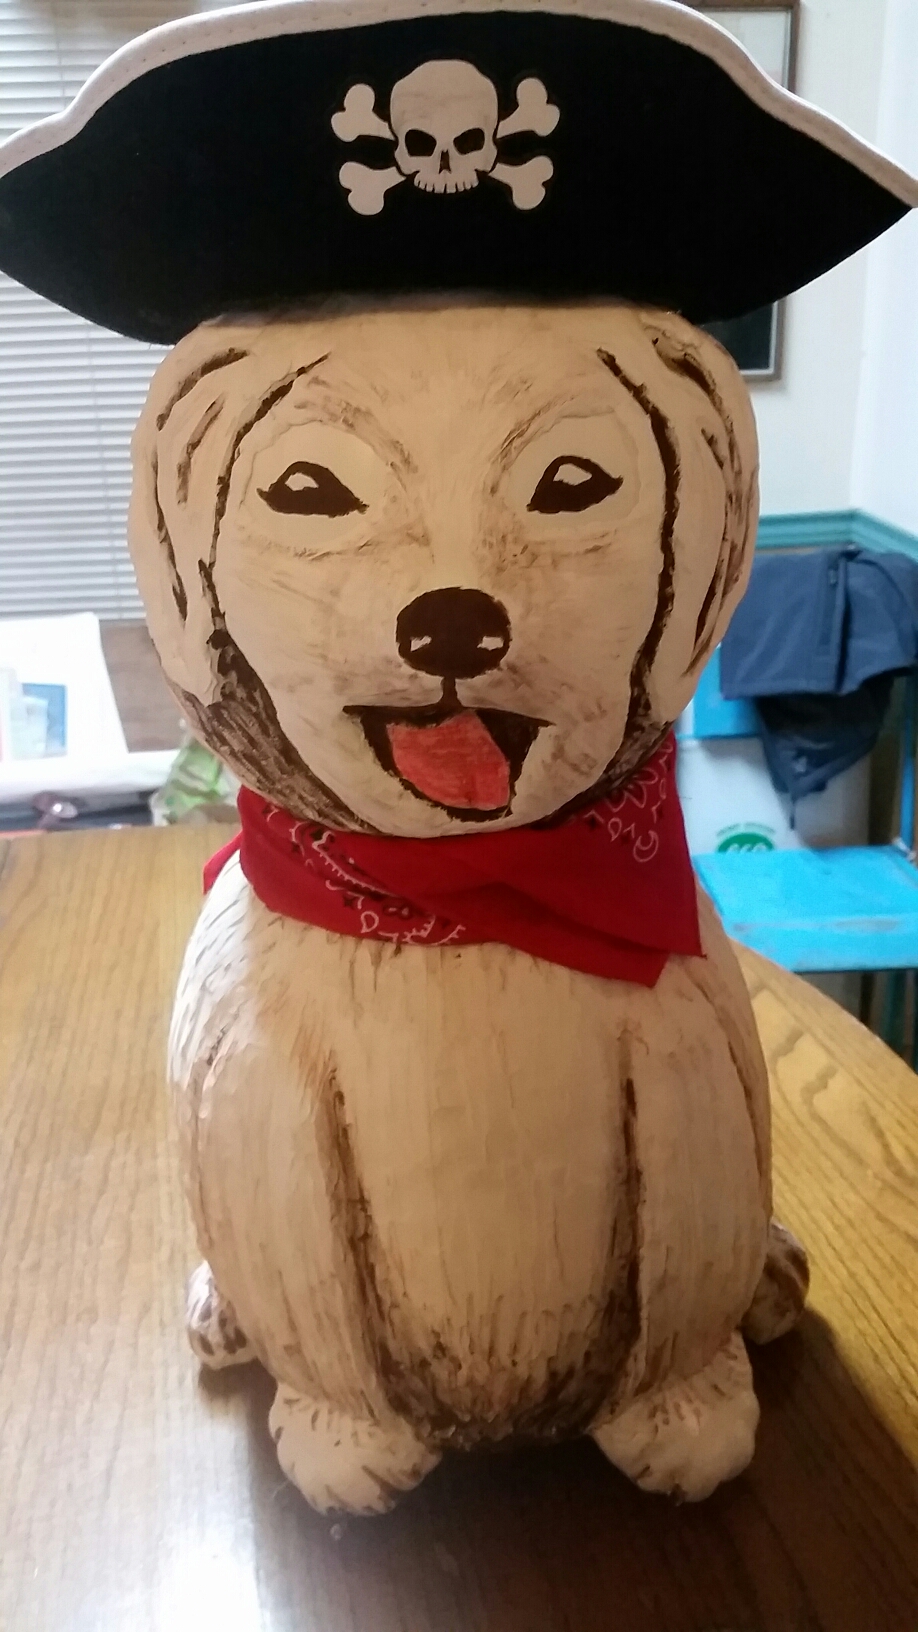
This last segment can be done in the house. Take a small paint brush and begin shadowing your dog. Paint his eyes in first and then his nose and mouth. Continue to shadow his body until you are satisfied! Remember this is your project and have fun with it! I also used a plain red crayon for his tounge. Now, add your finishing touches with the pirates hat and bandana and you are done!


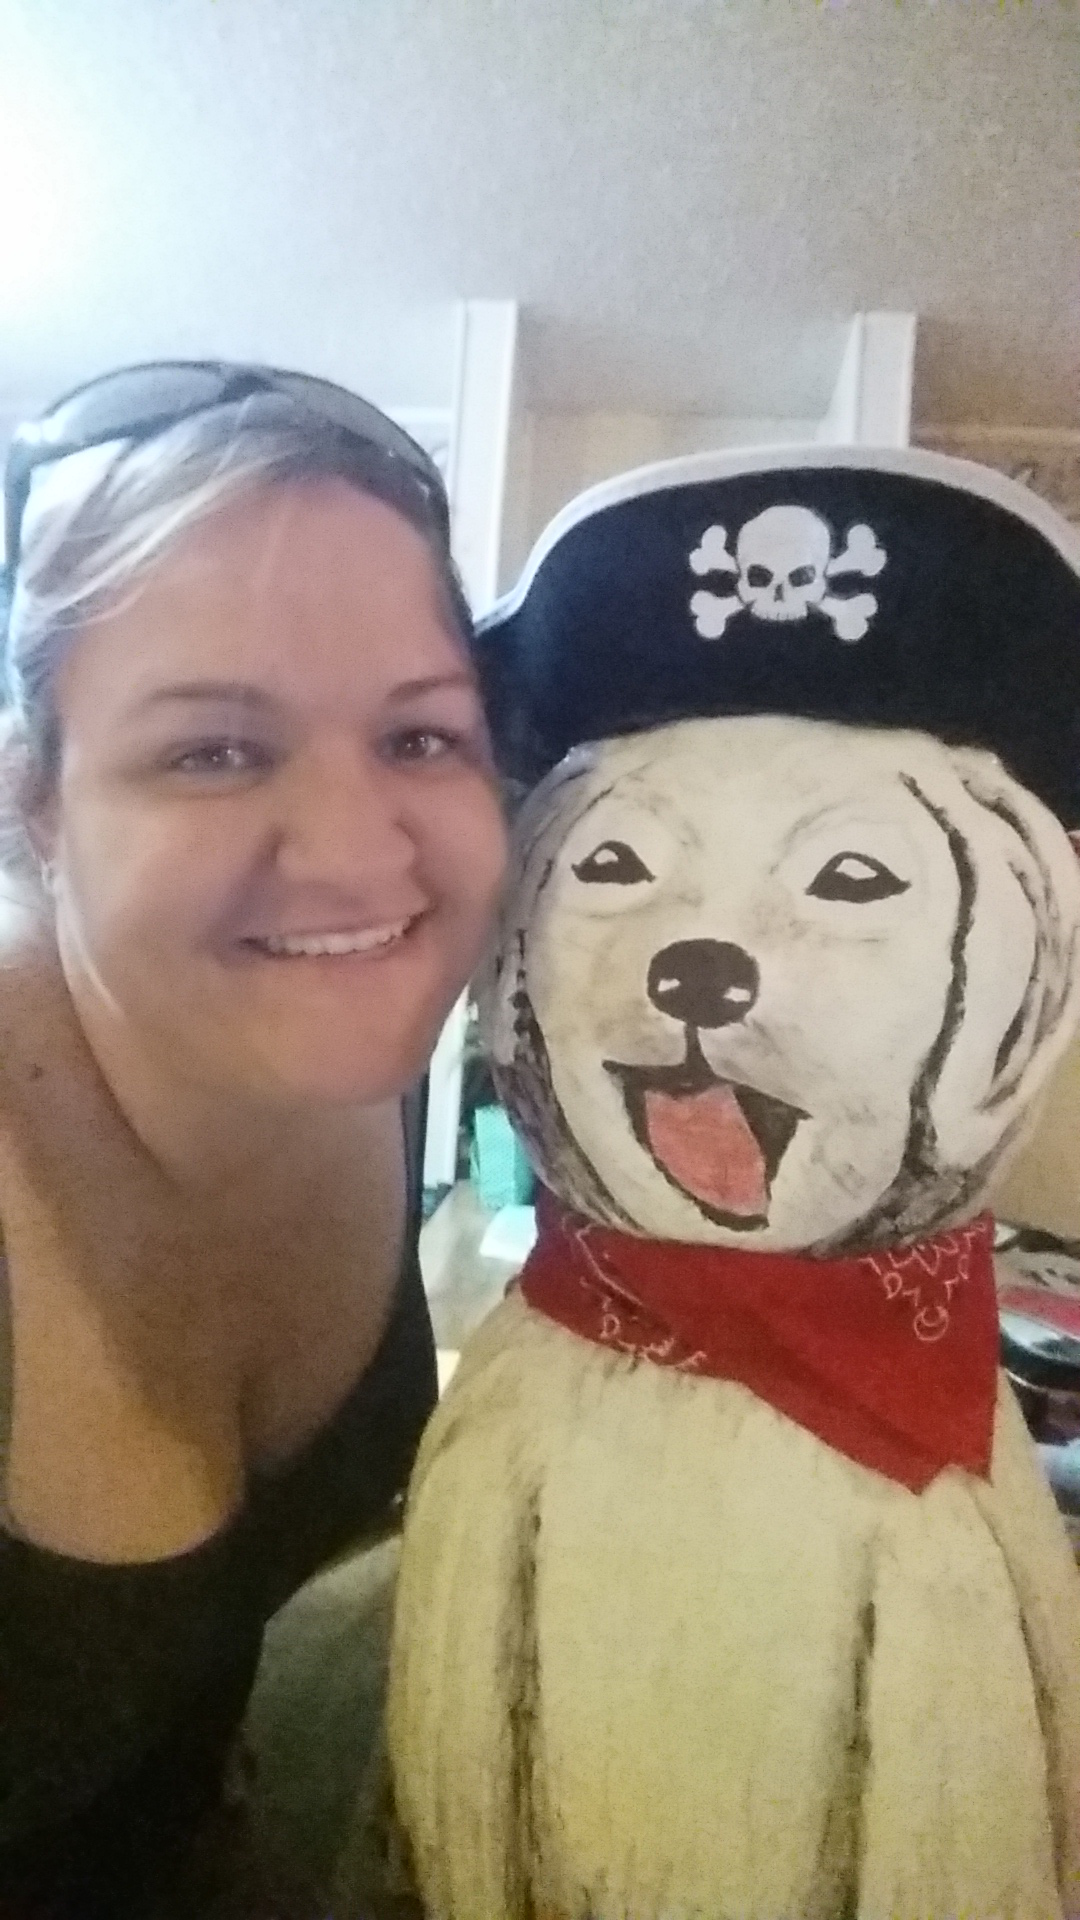
P.S. -you will get very dirty carving this project!!!
I hope you enjoyed my tutorial! If you did please share with your friends! Also, follow me for more crafts, recipes, mom moments and reviews!
Peace, Love and Blessings,
Lesley 💓
